[ad_1]
So, the next screen is similar to the old one, just waaay better.
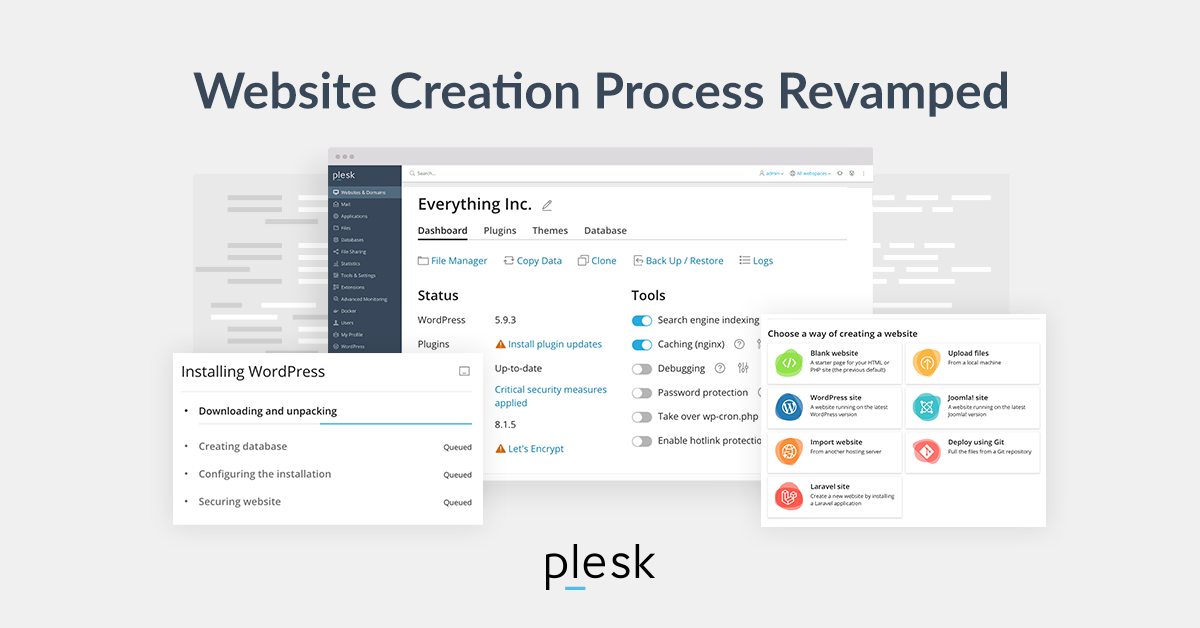
First, I need to type in the domain name of my website. But what if I don’t have a domain name yet? Where can I get one? What if a domain name isn’t important to me at this stage? Can I continue and assign one later? What if I want to quickly show a potential client that my hosting environment can host a Laravel website?
The answer is: “Use a temporary domain name, courtesy of Plesk“.
Plesk automatically generates a free domain name in the .plesk.page DNS zone you can use as a placeholder. We handle all the icky technical stuff like DNS resolving so that you can get on with your work. On top of that, your temporary domain name uses HSTS and is automatically secured by a free SSL certificate from Let’s Encrypt. Your website becomes available on the web right from the get-go, no waiting time needed!
One more important note: previously, you had to enter all required credentials by hand before a website could be created. To speed things up, Plesk now pre-generates system users’ credentials. You can see what they are or change them at any time – just click ‘Connection Info’ on the domain card.
As I haven’t registered my own domain name yet, I choose the temporary domain and click ‘Add Domain’.
[ad_2]
Source link