This page contains affiliate links, meaning we get a commission if you decide to make a purchase through our links, at no cost to you. Please read our disclosure for more info.
Don’t forget to subscribe to our YouTube channel to stay up-to-date.
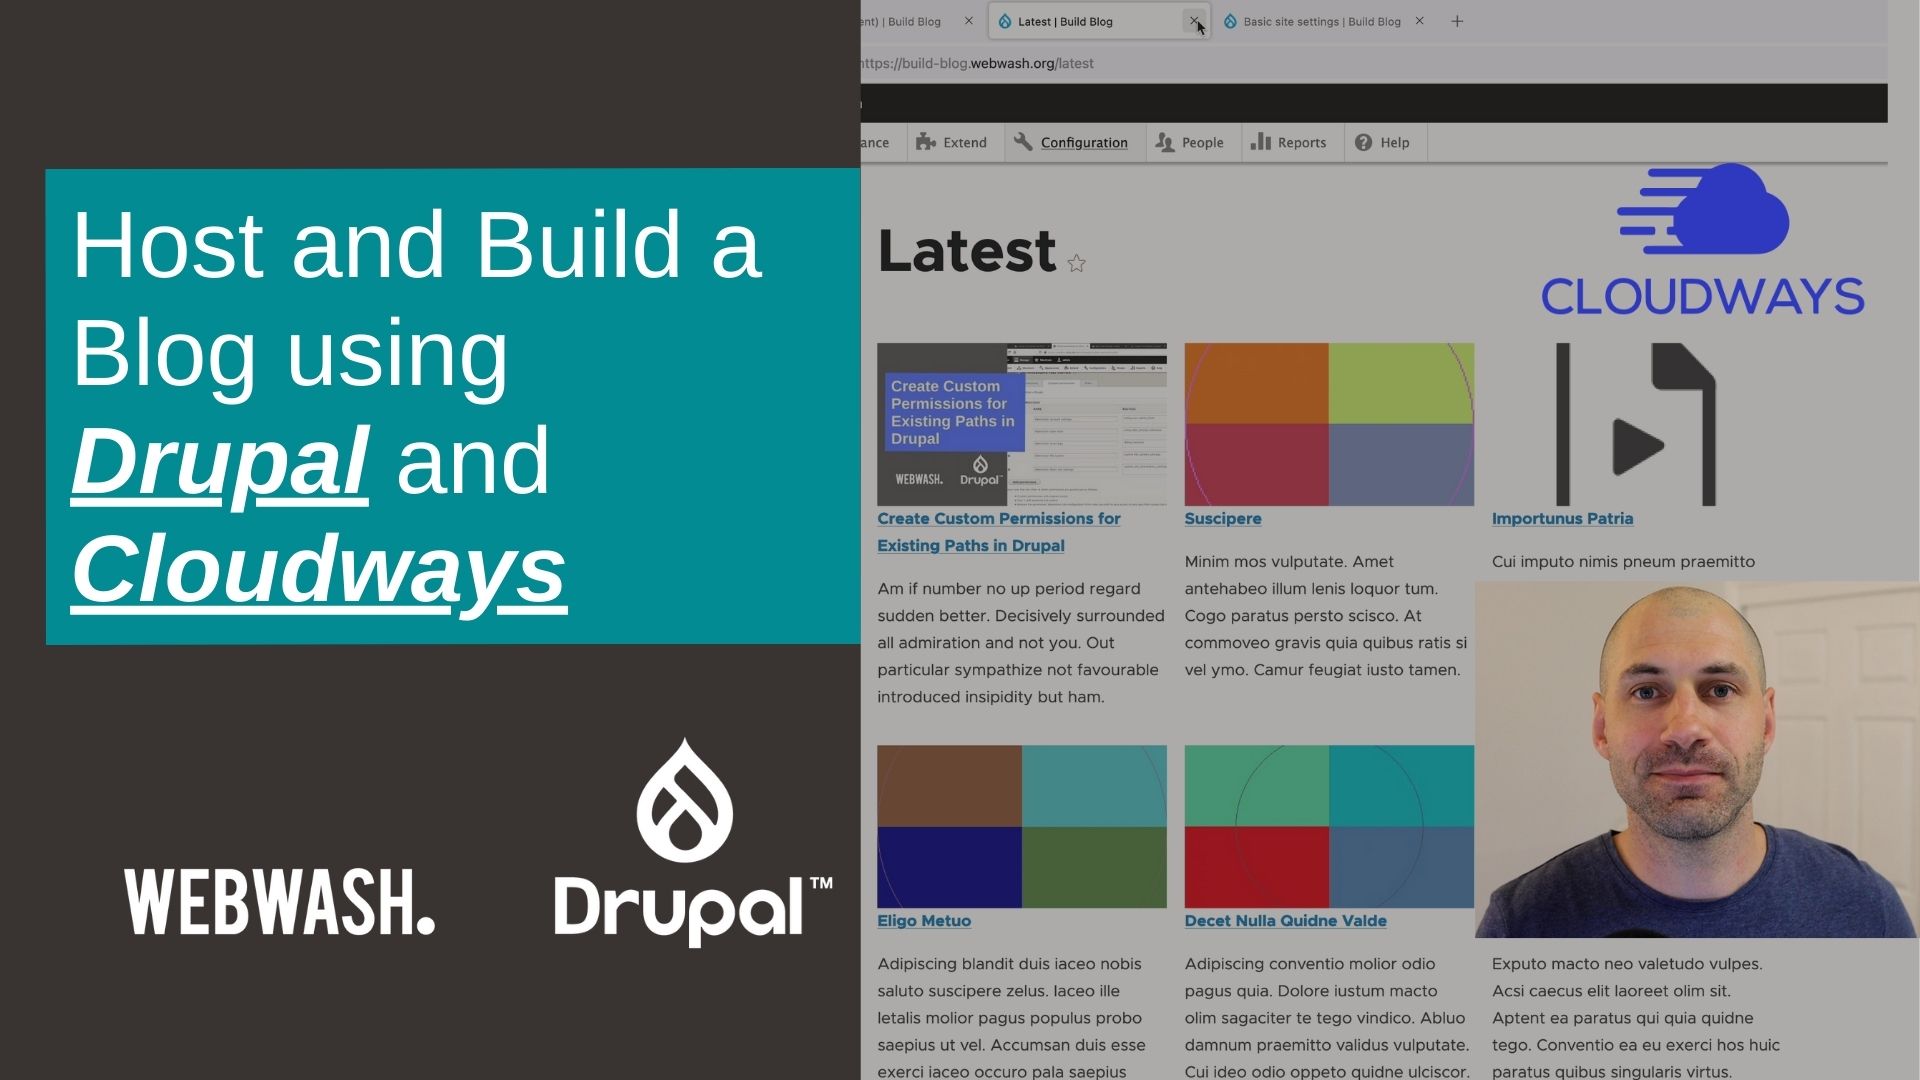
In this video, you’ll learn how to build a Drupal site from start to finish. We start by setting up hosting for the site on Cloudways and pointing to a custom domain name.
Once hosting has been set up, we start building out the site. We create a custom content type, configure layout builder, add media functionality, create a bunch of custom view pages and much more.
I’ve broken out the video into sections below with timecodes and extra resources. For the content below to make any sense, you should follow along by watching the video.
Set up Cloudways Hosting
When it comes to hosting a Drupal site, many hosting options are available.
I recommend Cloudways for hosting because you pay for the actual server and not per site. You can host as many sites from your server as it can handle.
They manage the server for you and you get automated backups, staging environments and more.
If you want to learn more about Cloudways, read our “How to Host and Deploy Drupal Sites using Cloudways” tutorial.
Register New Account
Time: 00:02:24
1. To register a new account, go to Cloudways and click on “Start Free” in the toolbar.

2. Fill out the registration form and click on “Start Free”.

Create Server and Application
Time: 00:02:45
1. Click on “Add server” in the top right corner.

2. From “Select your Application” select “Custom app”.

3. Give your server an application a name, then add it to a project.

Projects are an excellent way to organize your servers and applications.
4. Go ahead and select a hosting provider. For this video, I’ll use DigitalOcean, 2GB (standard).

5. Then click “Launch Now” in the bottom right.

Upgrade PHP
Currently PHP 7.4 is the default version when you provision a server. We’ll need to upgrade PHP to 8.0.
Go into the server, click on “Settings & Packages”, then click on Packages.
Select PHP 8.0 and click on Save.

Create Application User Account
Time: 00:06:51
Go into the application and add a username and password.

SSH into Server
Time: 00:07:24
Once an account is created open up your terminal and run the following command:
ssh username@IPADDRESS
Enable SSH Access
If you try and SSH into the server and getting the following error: “Shell access is disabled”.

Then make sure SSH access is enabled.
Go into the application, click on “Application Settings”, then enable “SSH Access”.

Set up Drupal on Hosting
Install Drupal using Composer
Time: 00:09:18
Run the following command to download Drupal.
composer create-project drupal/recommended-project ./
If you get an “is not empty” error then make sure you delete any files or folders in public_html.

To delete the current file just type in rm index.php.
Change WEBROOT Directory
Time: 00:10:19
Once Drupal has been downloaded you’ll need to change the webroot settings in Cloudways. Go into the application click on “Application Settings” then change the webroot settings. Add web and click on Save.

Configure Domain in Cloudways
Primary Domain
Time: 00:11:05
Go to “Domain Management” in your application then add your domain into “Primary domain” and click on “Save changes”.

Update DNS Settings
Go to where your DNS is hosted and add an A record.

Every DNS registrar is different please refer to the Cloudways documentation.
Install Drupal
Time: 00:13:31
Install Drupal using the Standard installation profile.
When you’re on the database configuration page.

Use the “MySQL Access” details in the application on Cloudways.

Create Post Content Type
Time: 00:14:54
Go to Structure, Content types and click on “Add content type” and add the following settings:
| Settings | Value |
| Name | Post |
| Machine name | Post |
| Description |
Used for blogging |
Once the form has been filled out click on “Save and manage fields”.
Install Media and Media Library
Time: 00:16:34
Go to Extend and install Media and Media library module.

These modules will be used to create a media field and manage media assets.
Create Category Vocabulary
Time: 00:17:12
Go to Structure, Taxonomy and click on “Add vocabulary” and add the following settings:
| Settings | Value |
| Name | Category |
| Machine name | category |
Then click Save.
Click on “Add term” and add the following terms:
- Drupal
- WordPress
- JavaScript
- React
Add Fields to Post Content Type
Time: 00:17:48
Edit the Post content type and add the following fields from the “Manage fields”.
- Body (added by default)
- Category (field_category): Reference the category vocabulary.
- Featured asset (field_featured_asset): Media field and reference remote video and images.
- Tags (field_tags): Re-use existing field and reference tags vocabulary.
Manage Form Display
Time: 00:20:03
Click on “Manage form display” and re-order fields as follows:
- Title (Textfield)
- Featured asset (Media library)
- Body (Text area with a summary)
- Category (Select list)
- Tags (Autocomplete (tags style))
Configure Layout Builder
Time: 00:25:16
We’re going to use layout builder to customize the post details page.
Before we begin, install the “Layout Builder” module. This comes with Drupal; you won’t have to download anything. Go to Extend and install the module.
1. Go into the Post content type and click on “Manage display”.
2. Enable “Full content” and turn on layout builder for the view mode.
3. Add the following fields:
- Featured asset
- Category
- Body
- Tags

Create Featured Image Style
Time: 00:28:51
Go to Configuration, Image Styles and create a Featured image style.
Use “Scale and crop” effect, width: 1280, height: 720

Create Featured View Mode on Media
Time: 00:30:12
Go to Structure, Display modes, View modes and create a “Featured” view mode on Media.

Configure Featured View Mode on Remote Video, and Image Media Types
Go to Structure, “Media types” and configure the Featured view mode on remote video and image media types.
1. Edit a media type and click on “Manage display” and configure the view mode.

Make sure you configure the view mode on both remote video and image.
Create Test Content using Devel and Devel Generate
Time: 00:33:58
To generate test content download the Devel module:
composer require drupal/devel
Go to Extend and install “Devel generate”.

Then go to Configuration and from the Generate section, you can create test content.

Create Test Editor Account
Go to People and create a test editor account.

Create Latest (Homepage) View
Time: 00:37:34
Want to learn more about Views, then check out “Getting Started with Views in Drupal”.
Go to Structure, Views and click on “Add view”.
Add the following settings:
| Settings | Value |
| View name | Latest |
| Machine name | latest |
| Show | Content |
| Of type | Post |
| Create a page | Checked |

1. Configure display as Grid.

2. Display fields in view.

Display View as Homepage
We’ll use layout builder to control the homepage. Enable it for basic pages and configure it for “Full content”.
Make sure you check “Allow each content item to have its layout customized”.

Once page has been created, go to Configuration, “Basic site information” and change the “Default front page”.

NOTE: Your node ID will be different.
Display View as Block
Edit the view and click on add next to Page and click on Block.

Add Block to Homepage Basic Page
Go to the basic page that was created for the homepage, click on Layout and add the view block into the section.

Add Read More Link to View
Edit the block display and add the read more link at the bottom of the middle column.

Add Menu to View
Edit the view and add a menu to the main navigation.

Create Popular Categories Block View
Time: 00:50:14
Go to Structure, Views and click on “Add view”.
Add the following settings:
| Settings | Value |
| View name | Popular categories |
| Machine name | popular_categories |
| Show | Taxonomy terms |
| Of type | Category |
| Create a block | Checked |

Add Popular Categories Block to Sidebar
Go to Structure, Block layout and add the new block view into the sidebar region.

Customize Teaser View Mode on Post Content Type
Go to Structure, Content types and click on “Manage display” on the Post row.
Configure the following fields:
- Featured asset
- Category
- Body
- Links

Create Author Posts View
Time: 00:56:51
If you want to learn more about creating user pages with Views, check out “Add Custom Tab to User Profile Page with Views in Drupal” tutorial.
Edit the Latest view and click on add next to Page and click on Page (this will create another page).

Change the path to the view to /user/%user/latest-posts.

Add Contextual Filter
Click on “Advanced” in the view, then Add in “Contextual filters”.
Add the Authored by field select “Provide default value” and “User Id from route context” from the Type drop-down.

Add Menu Tab to Profile
Edit the Latest view and click on “No menu” and select “Menu tab” from type.

Configure User Permissions
Time: 01:03:56
Go to People, Roles and configure the Content editor role.
- Use the Basic HTML text format
- Use the Full HTML text format
- Access media overview
- Administer media
- “All node create/edit/delete”
- Administer menus and menu links
- Access the taxonomy vocabulary overview page
- “All term create/edit/delete”
For anonymous and authenticated roles:
Embed Videos and Images directly into Page
Time: 01:09:53
Go to Configuration, “Text formats and editors”, and edit the “Basic HTML” format.
1. Add icon onto toolbar.

2. Enable “Embed media” filter.

3. Configure the “Limit allowed HTML tags…”
4. Configure “Embed media” settings.

Set up Automatic Paths using Pathauto
Time: 01:11:55
Want to learn more about Pathauto, then check out “Automatically Generate URL Aliases using Pathauto in Drupal”.
Download the Pathauto by running composer:
composer require drupal/pathauto
Go to Extend and install the module.

Go to Configuration, “URL Aliases”, Patterns and click on “Add alias”. Create the pattern for post content type.

Summary
By the end of this tutorial you should have a working Drupal site. We covered how to set up Drupal hosting and important site-building topics such as creating content types, adding fields and creating view pages.